Footwork is one of the first and most important skills to learn when starting out in badminton. And the best part? No matter how long you’ve been playing, there’s always room to sharpen and improve your movement.
In this guide, we’ll break down how to move efficiently to each of the four corners of the badminton court — step by step — so you can cover the court faster and play with more confidence.
Why Is Footwork Important In Badminton
Good footwork is the key to playing efficient and confident badminton. When your movement around the court is solid, you can:
- Move more efficiently and save energy throughout long rallies.
- Reach the shuttle earlier, giving you time to play stronger and more accurate shots.
- Stay balanced and in control, instead of feeling rushed or out of position. This helps you focus on shot quality and strategy rather than just chasing the shuttle.
In the end, better footwork doesn’t just make you look smoother on court — it helps you win more points and ultimately, more matches.
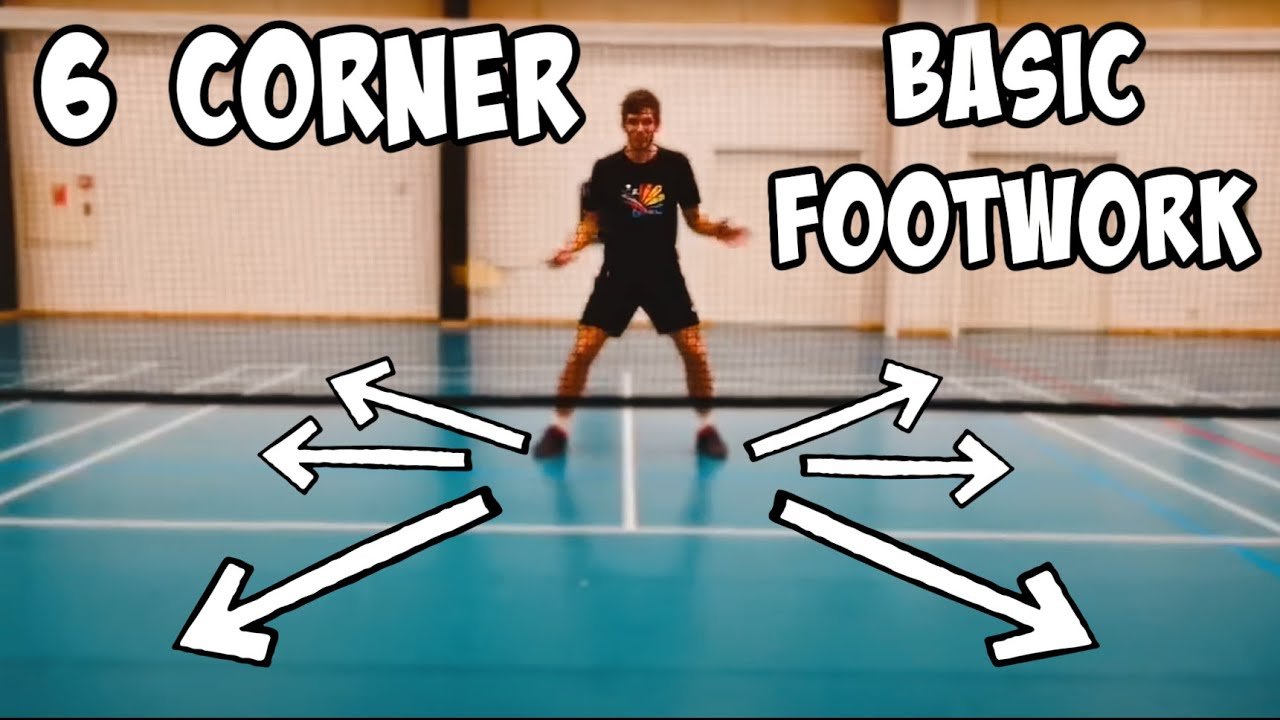
What Are the Different Footwork Patterns in Badminton?
In badminton, there are four main footwork patterns that every player should learn:
- From the centre to the forehand front court
- From the centre to the backhand front court
- From the centre to the forehand rear court
- From the centre to the round-the-head rear court
While there are many small variations depending on the situation and your playing style, we’ll focus on the most basic and effective way to move to each of these four corners.
Before we get into the specific movements, though, it’s important to understand one essential part of badminton footwork — the split step.
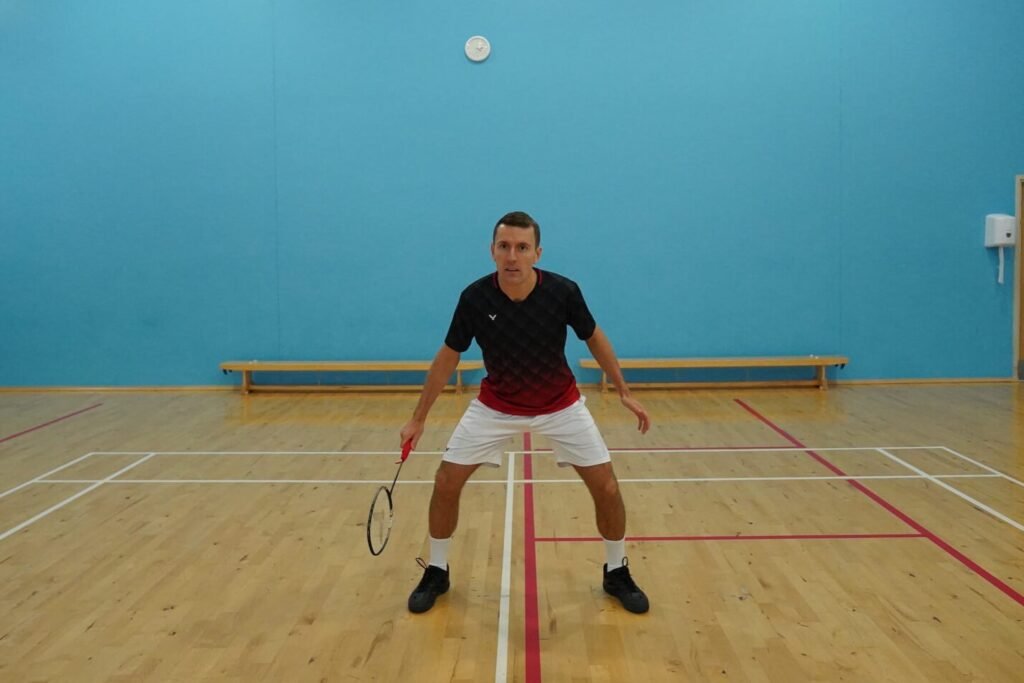
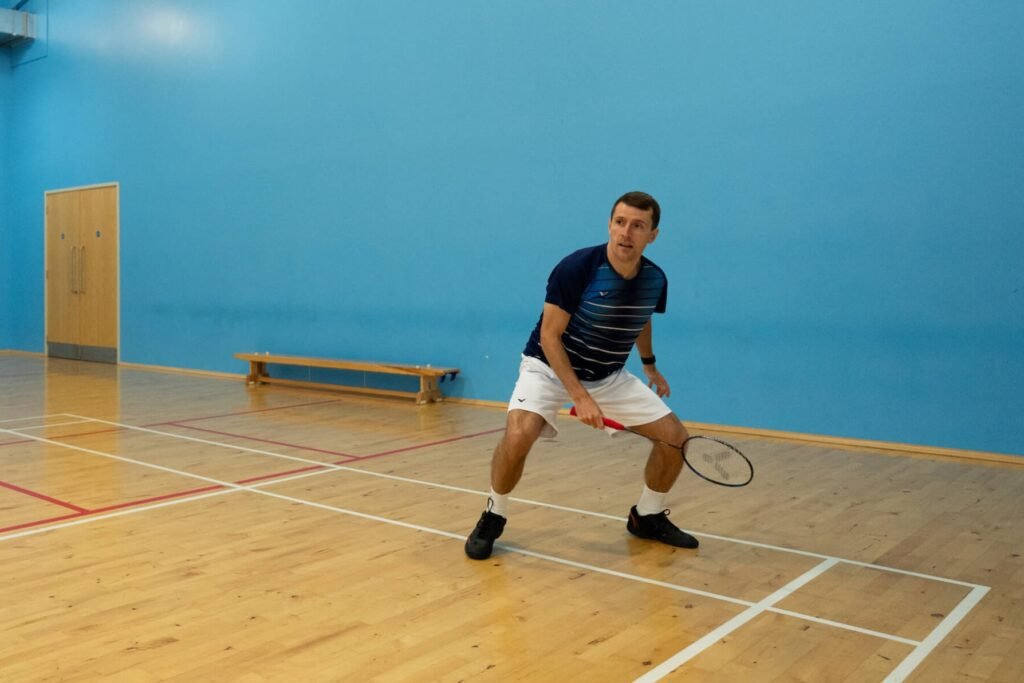
The Split Step
This is the first step of any movement you do, and it is a small explosive movement which enables you to change direction quickly and move with speed to wherever your opponent is hitting to.
Movement To The Front Court
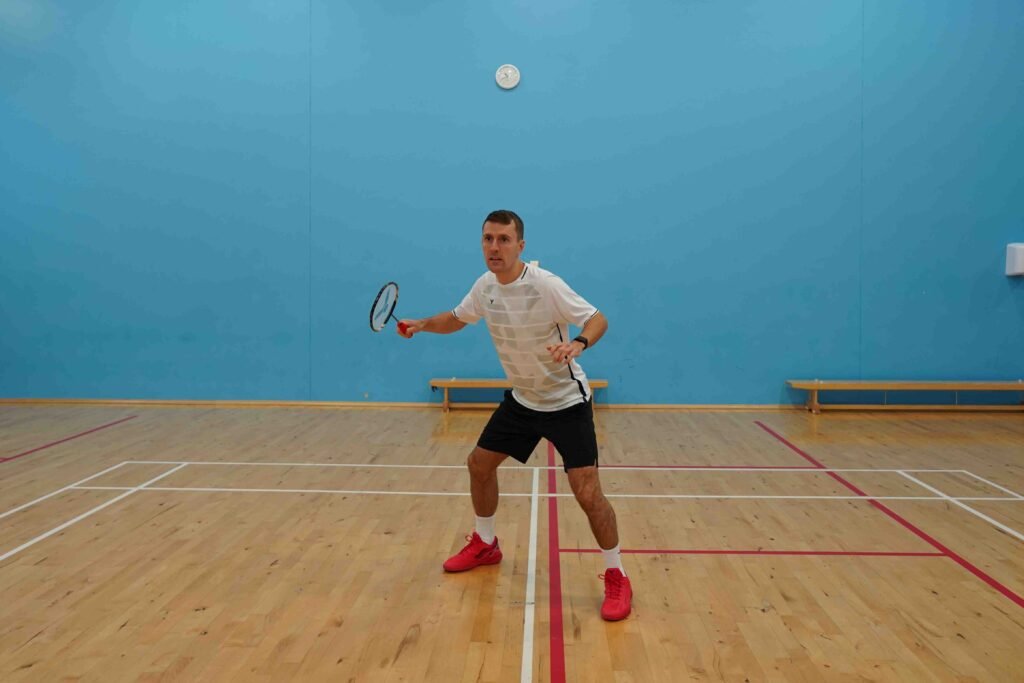
Before we look at how to move to each corner, there are a few key things you should know about moving to the front of the court. These basics make a big difference in how balanced and controlled you feel during your shots:
- Always lunge with your racket leg. That means using your right leg if you’re right-handed, and your left leg if you’re left-handed.
- Keep your upper body steady. Stay upright with your core engaged and knees slightly bent — this helps you stay balanced when hitting and recovering from the shot.
- Focus on proper landing. When lunging, your foot should land from heel to toe, with your toes pointing towards the shuttle. Make sure your knee stays in line with your foot — not collapsing in or out.
- Time your landing. Try to land your lunge just before hitting the shuttle. Landing too early makes it harder to adjust your position, while landing too late can throw off your balance and shot control.

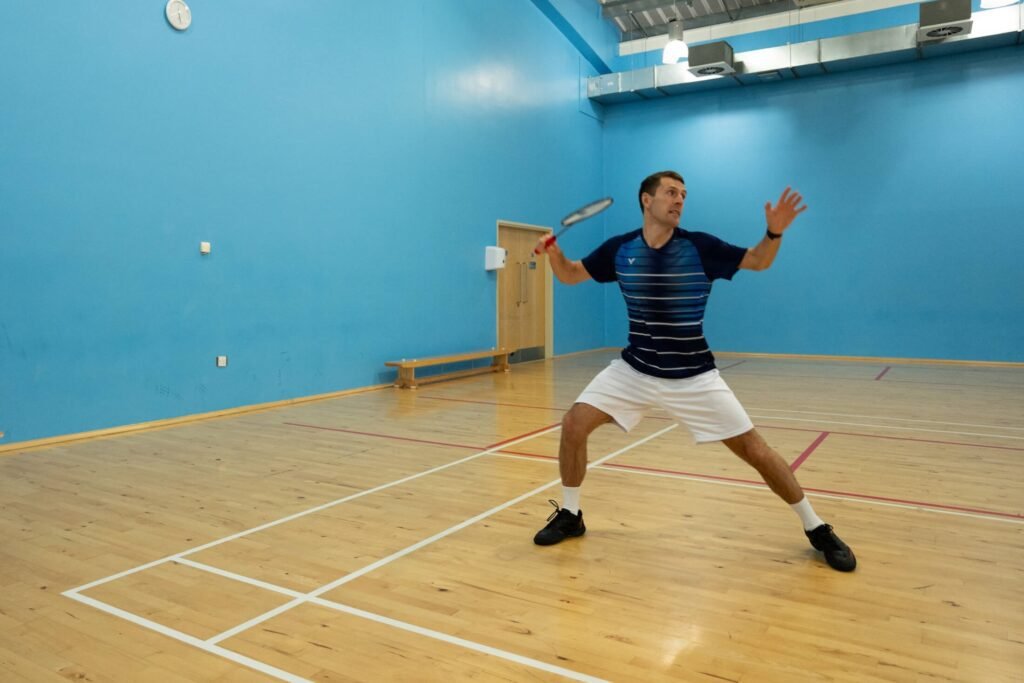
Forehand Front Court
When moving toward the forehand front corner, start with a directional split step to set yourself up for a quick and balanced movement, like this:
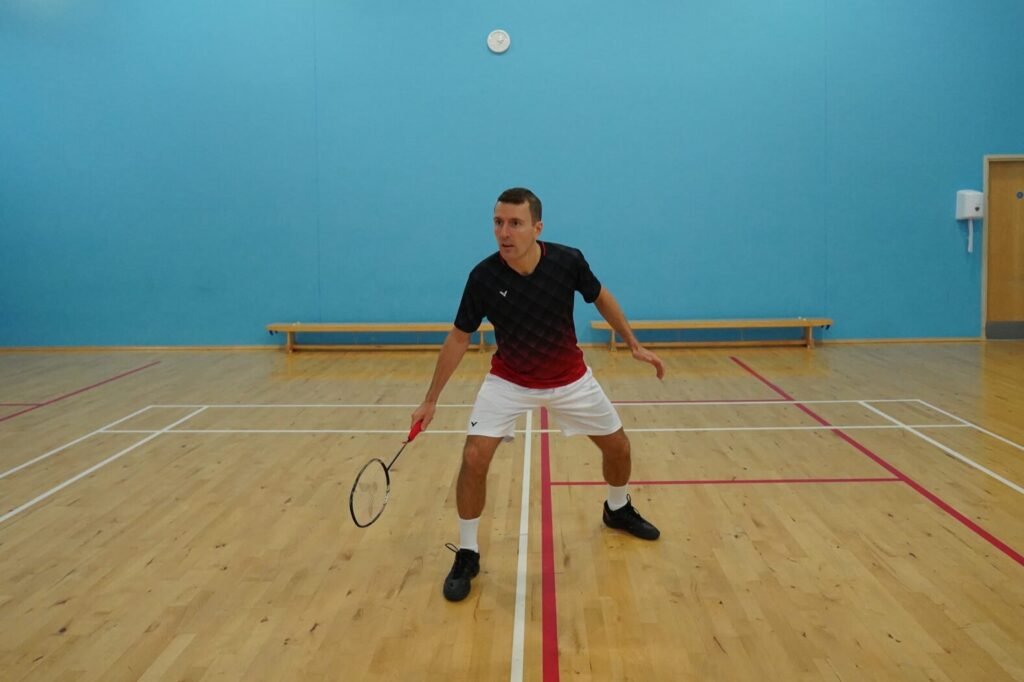
Then, bring your non-racket leg towards your racket leg in what we call a chasse step like this:
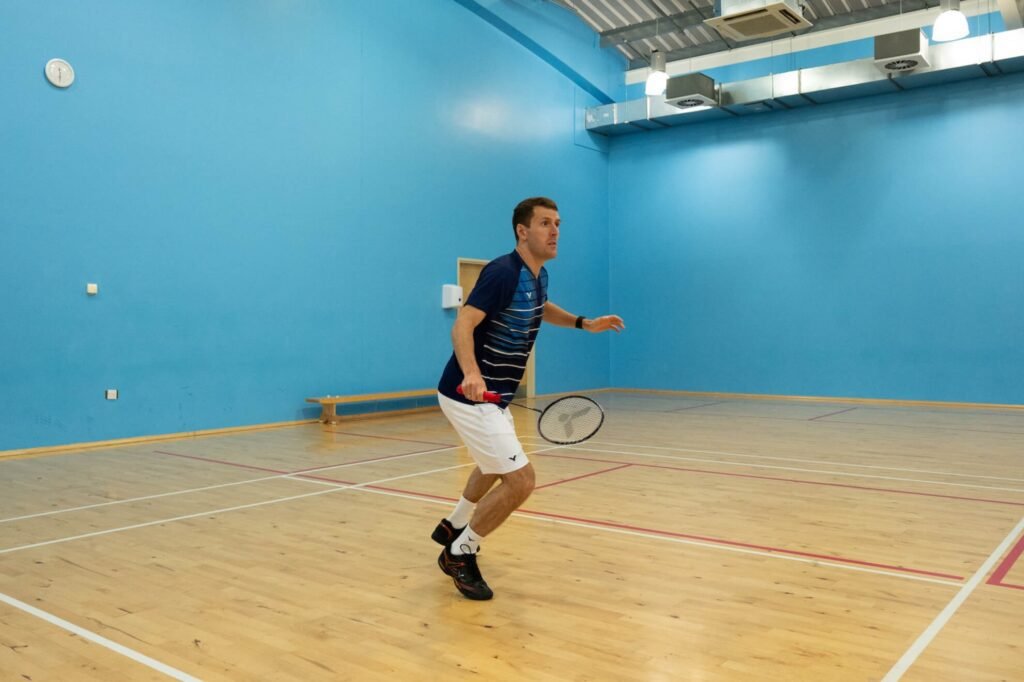
Finally, bring your racket leg forwards to lunge into the corner.
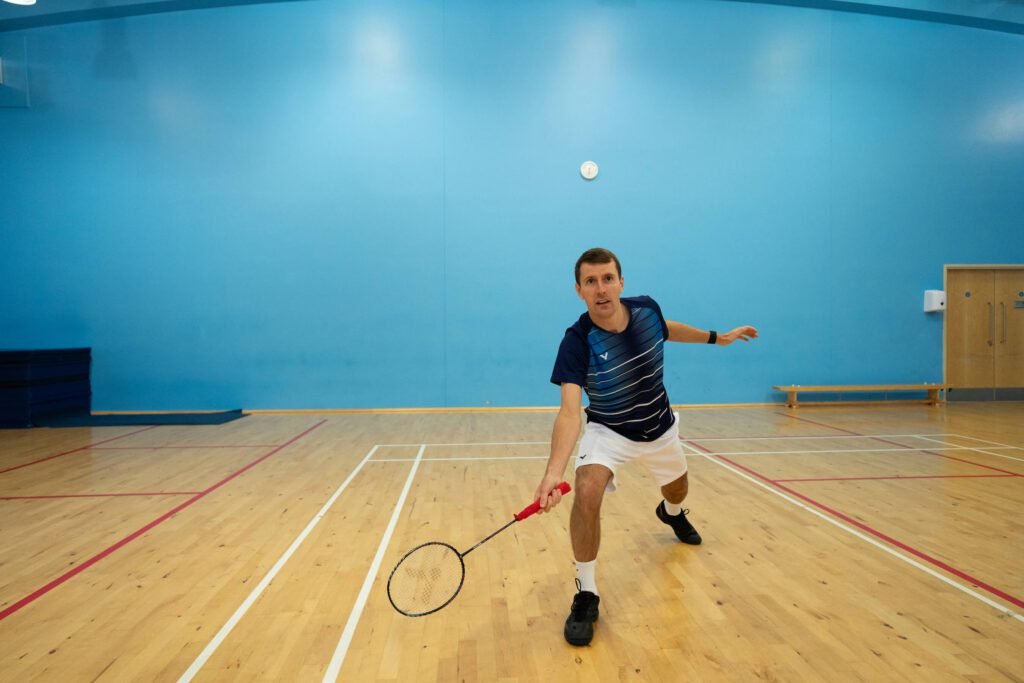
This movement stays the same whether you’re starting from the middle of the court, moving across the net, or coming out of a defensive stance in doubles.
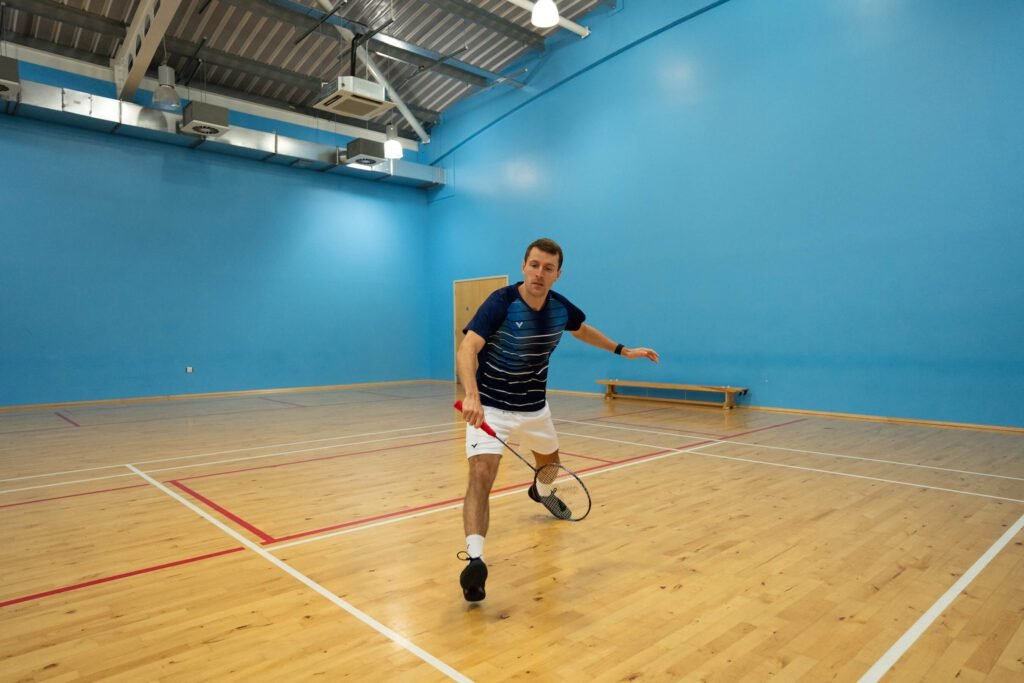
To recover, simply reverse the steps you just took. Push off strongly from your racket leg, bring it back toward your non-racket leg, and then step back to the centre of the court, ready for the next shot.
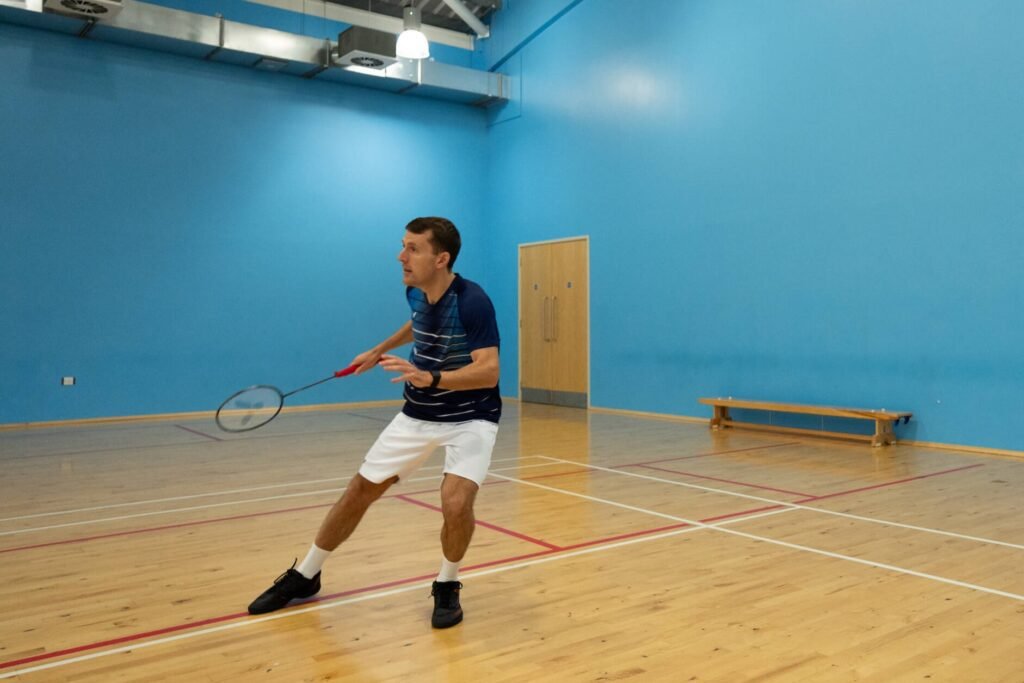
Backhand Front Court
When moving to the backhand front corner, you want to do a directional split step like this:

Then, pivot on your non-racket leg and finally lunge into the corner with your racket leg. Again, this is the same no matter where you’re moving from.
As you get more advanced, you can add a full directional split step with your racket leg slightly forward if you’re expecting a shot to the net. From there, chasse towards the shuttle and finish with the same lunge technique you’ve already learned.

To recover, push off again with your racket leg and bring it back toward the centre of the court. At the same time, do a small hop on your non-racket leg to cover a bit more ground and help you return to the middle efficiently.
Tactical Tip: After playing a tight net shot, you may not need to fully return to the centre. Often, your opponent will respond with another net shot, so staying closer can give you a quicker reaction. If they lift the shuttle instead, you’ll still have enough time to move back and cover the court.
Movement To The Rear Court
Forehand Rear Court
There are actually four different ways to move to the forehand rear court corner, but here we’ll focus on the most basic and effective method.
The rear court movement we are going to discuss here is the scissor kick. First, you do a directional split step towards the forehand rear court corner like this:
Then, chasse in the same direction to get into a position with your feet wider than shoulder width apart and your body facing sidewards like this:
You want your racket leg to be loaded and then you push off this leg to perform a rotational jump before landing with your racket leg in front.
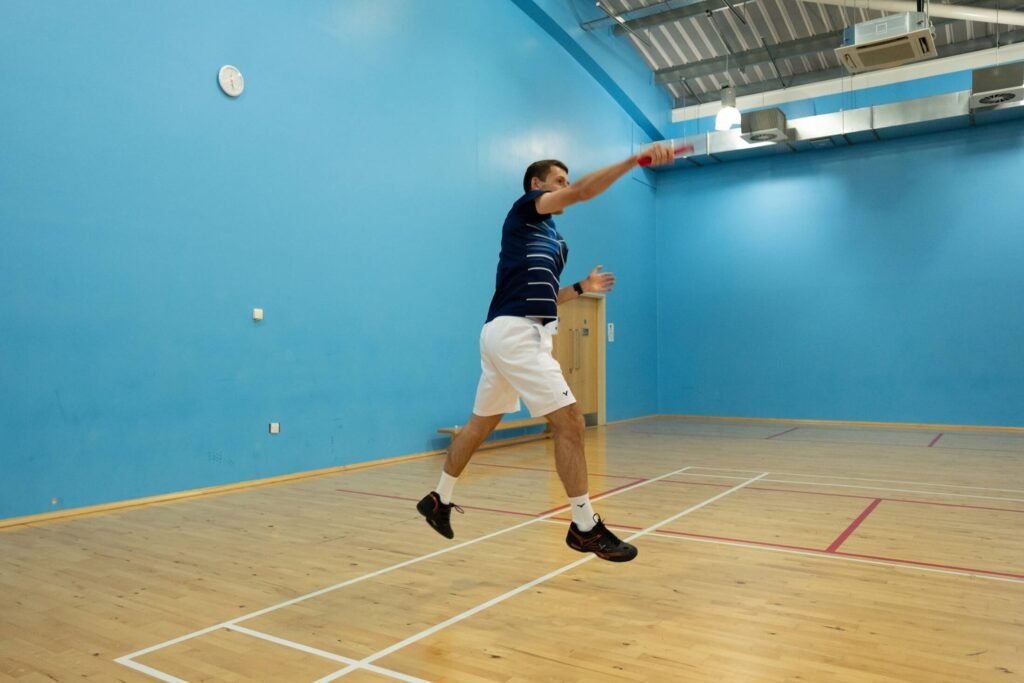
Rotating like this in your overhead action allows you to transfer your body weight so that you’re moving forwards after the shot. If you don’t use this rotation then you’re more likely to fall backwards after the shot, making you slower onto the next shot!
Make sure you also land with your legs slightly wider than shoulder width apart – this will help you remain on balance to recover quickly back to the middle or to the following shot.
Round The Head Rear Court
To move to most shots in the round the head rear court you would again use the scissor kick for this movement, but the movement towards the corner will be slightly different compared to the forehand side.
You start with a directional split step towards the round the head rear court corner like this:
Then you push off your racket leg and pivot on your non-racket leg so you’re facing sideways. Then, jump up and do a scissor kick so you land like this:
If you find it difficult to reach the corner with this movement, you can try adding a small chasse step either before or after the pivot. That said, it’s best to keep your steps to a minimum, as fewer steps will help you move faster.
One final tip: always keep your knees bent throughout your movement, and use your non-racket leg to push off along with your racket leg. Doing this will make your footwork quicker, more efficient, and help you cover the court with ease.
Once you get these movements engrained into your game and you can repeat it under pressure in a match, it will truly transform the way you play!