Many players struggle with hitting the shuttle late in their backhand corner, unsure how to take it earlier.
But here’s the good news we’ve got a solution: the round-the-head jump-out smash!
This shot is played on the backhand side, but instead of waiting and playing a weak late backhand, you jump out to cut off the shuttle before it passes you. By intercepting it earlier, you can turn defense into offense and deliver a powerful downward smash.
To pull off a strong round-the-head jump-out smash in badminton, start with a split step, then push off and leap out while keeping your hips square to the net. As you rise, draw your elbow back and open your chest. Drive your elbow forward, then whip your forearm through, finishing with a snap of the wrist to strike the shuttle cleanly.
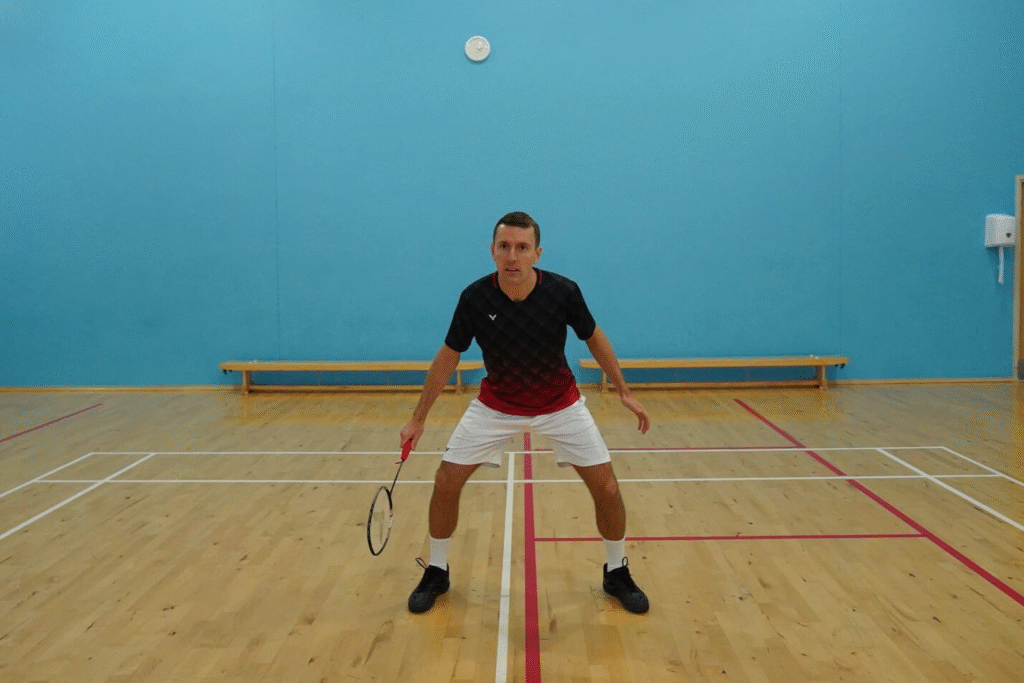
Step 1 – When Should You Play The Jump Out Smash?
You should go for the jump-out smash when your opponent sends a flat lift or clear and you don’t have enough time to get fully behind the shuttle. Instead of waiting and taking it late, explode outward to cut it off before it drifts past you. The earlier you can read and anticipate that flat shot into your backhand corner, the sharper and more effective your next move will be.
To sharpen your anticipation skills, pay close attention to your opponent’s body position and where they are on the court. For instance, in singles, if you send a flat, deep clear into their forehand corner, one of the most likely replies is a flat straight clear. That’s your cue to jump out and cut it off early.
In doubles, imagine you drop from your forehand corner. The “natural” response for your opponent is to whip the shuttle flat across court into the open space. But that’s exactly the shot you’re waiting for so you explode outward and intercept it before it gets past you.
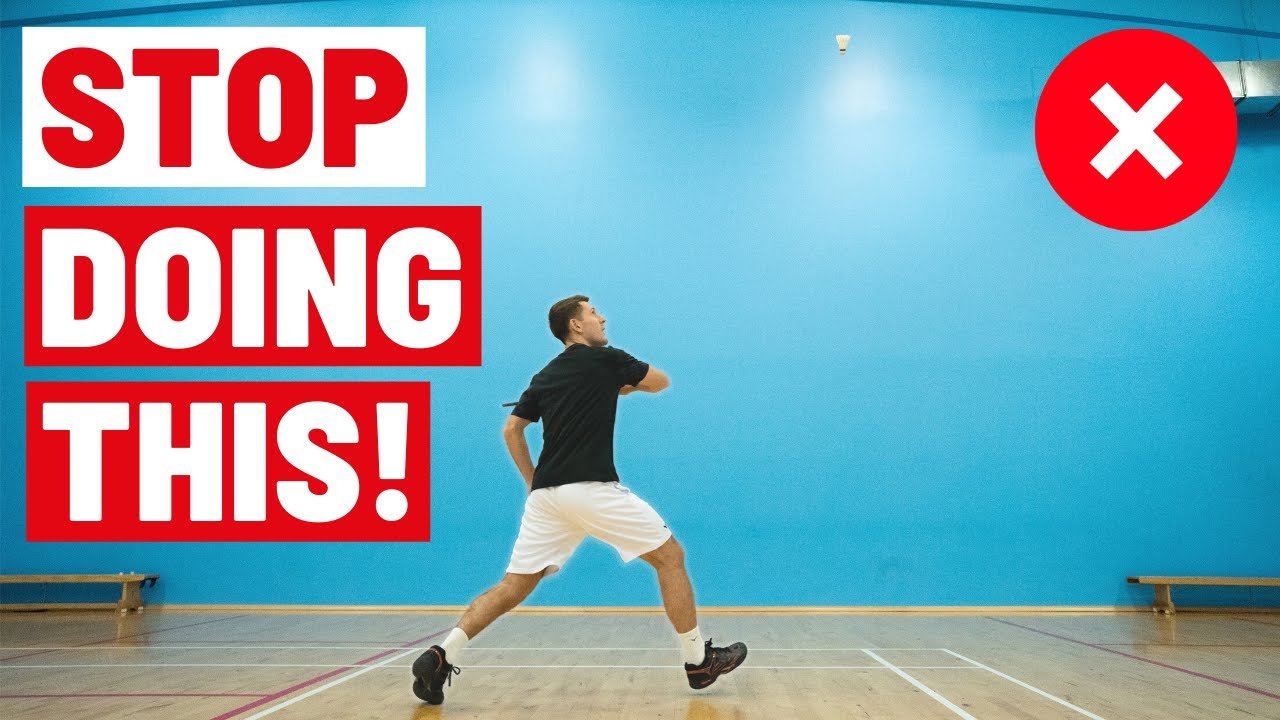
Step 2 – The Split Step
The split step serves two key purposes:
1. It aligns your feet with the direction you’re about to move
2. it gives you the push-off power you need to explode into the shot. Unlike the forehand jump-out smash, where you can use either a directional or side-by-side split step, the round-the-head jump-out smash is most often set up with a side-by-side split step.
One of the most common mistakes that holds players back from pushing off effectively in their split step is keeping their legs too straight or placing their feet too close together. To generate real power and balance, your legs should be bent and your stance slightly wider than shoulder-width apart. This gives you the spring and stability you need to explode into the jump-out smash.
Step 3 – Moving Into The Right Position
After the split step, lock your eyes on the shuttle and quickly judge how far away it is. From there, you’ve got two options:
- Jump straight away. Use this when the shuttle is close enough that you can reach it in a single leap.
- Chassé, then jump. If the shuttle is further out, add a quick chassé step before launching into your jump. This adjustment is especially common in doubles more on why in Step 6!
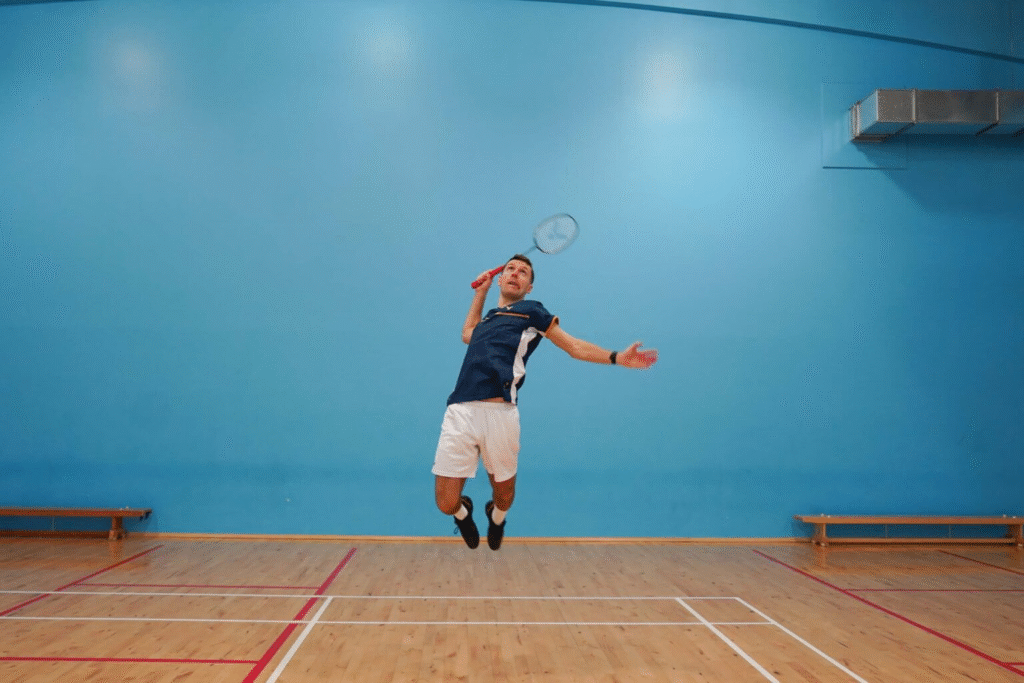
Step 4 – Mid-Jump
From the moment you push off until the instant you begin your swing, every movement matters. This phase is crucial because it sets you up for maximum racket head speed the key ingredient for delivering a truly powerful smash.

- Keep your hips square to the net. Unlike most shots, there’s no rotation here you simply don’t have the time.
- Bring your racket arm up with your elbow pulled back. This opens up your shoulders and chest. The further you can draw your elbow back while keeping your hips square, the more room you create to accelerate your swing. That extra distance translates into faster racket head speed and, ultimately, more power in your smash.
- Stay in a loose forehand grip. Keep your grip relaxed until the very last moment this allows you to generate extra racket speed right when you strike.
- Lift your non-racket arm. As you bring your racket arm up, raise your non racket arm out to the side. This balances your body and helps you stay controlled as you prepare to unleash the smash.
This detail matters for two big reasons:
- It keeps you balanced. Raising your non-racket arm out to the side stabilizes your body as you prepare for the smash.
- It opens your chest for speed. If your non-racket arm is forward as it usually is for overhead shots your chest closes off, which drastically slows your swing. The only way around that would be rotating your hips, but that throws off your timing completely.
Step 5 – The Smash
First, remember your hips stay square to the net throughout the entire movement. The exact moment to start your swing will vary depending on your height, reach, and the lift’s trajectory, but the sequence itself should always follow the same rhythm:
- Drive your elbow forward while simultaneously bringing your non-racket arm down. This adds force and clears space for your racket to come through.
- Let your forearm whip through next. After the elbow leads, it naturally slows as the forearm accelerates.
- Finish with the wrist. The final snap of the wrist delivers speed and precision, striking the shuttle cleanly.
It’s important to understand that power doesn’t come just from the wrist a common misconception. Instead, it’s the quick combination of all those small movements working together that generates real force.
There are two final points to keep in mind in this sequence:
- Arm position: As you strike the shuttle, your arm should be almost straight but not locked out. This gives you reach and control without straining the joint.
- Leg position: Keep your legs fairly close together and nearly straight as you hit. Avoid tucking them in during the jump this small adjustment speeds up your recovery and gets you ready for the next shot faster.
Step 6 – The Recovery
The recovery for the round-the-head jump out smash is what a lot of people find most difficult because you actually land on your non-racket leg first.
After striking the shuttle, widen your legs to prepare for a stable landing. Touch down first on your non-racket leg with your knee slightly bent to absorb the impact. Then let your racket leg follow, again with a soft bend in the knee. This controlled landing keeps you balanced and ready to recover quickly for the next shot.
Your recovery depends not only on how strong your legs are but also on the speed and distance of your jump.
- Fast, long jumps: If you’re moving quickly and covering a lot of ground, you may need one or two small adjustment steps to regain balance and reset.
- Shorter or static jumps: If you launch from a more stationary position or cover less distance, you’ll often be able to recover without taking any extra steps.
This is also why doubles players use the chassé movement more often. They can push harder with the jump-out smash to apply maximum pressure, and even if their recovery is a little slower, their partner is there to cover the court.
In singles, using the chassé movement can be risky if you push too far out of court, you’ll often struggle to get back in time for the next shot if your opponent returns it. Instead, it’s usually smarter to take the shuttle a little later and use a scissor kick. This way, your bodyweight drives forward as you recover, helping you get back into position quickly and stay ready for the rally.
How To Practice The Jump Out Smash
If you’re new to this movement, it’s best to start by practicing without a shuttle. This helps lock the technique into your muscle memory and builds confidence so you know you can execute it safely in a match. Once you add the shuttle, it will feel challenging at first but keep at it. The key is consistent practice with good technique, and that’s what will make the jump-out smash a reliable weapon in your game.